
Adding a SOM to the HelpHub
- Go to Helphub.Silvertoad.co.uk
- Click Login and use the Silvertoad credentials
- Once you’ve logged in you’ll be redirected to the home page and able to see different options
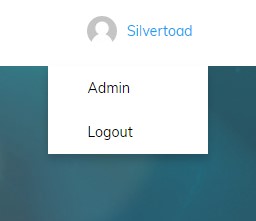
- Click on the user profile icon and select Admin
- You’ll be taken to the back end of wordpress
- In the left hand black pane, select pages
- Click Add New
- Add the title in the title box
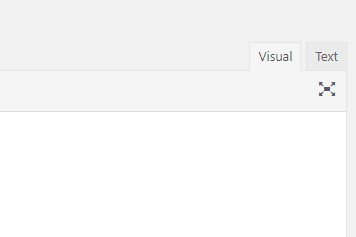
- Click in the text content box, and make sure the Visual tab is selected, you can then start typing or paste your content.
- Scroll all the way down to the bottom of the page to where you’ll see a box called Content Permissions
- In here, only tick Administrator and Keymaster (this means only Silvertoad team can see the page)
- Scroll all the way back up, and find the box on the very right hand side called Page Attributes
- Select Parent, and choose Team from the dropdown list
- In the box above, click publish.
- Click on Pages in the left hand pane again
- Find the page called Team, and click on the word Team, it will open up the team page
- Find the section thats most applicable to your SOM (for example, Graphic Design section)
- Hover over the centre of this box and click the small green pencil
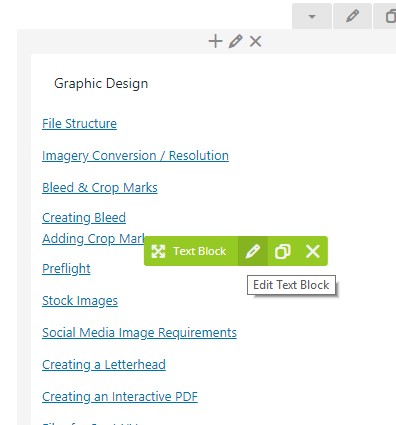
- It will open a pop up box, in here click enter to create a new line after the last entry
- Enter the title of your SOM on the new line, then highlight the entire title
- Click the small paper clip symbol in this text editor to insert a link. A box will open on this to enter the link of your SOM. Once complete, click the blue enter button
- Click Save Changes
- Scroll up and click Update in the right hand pane top box
- Go back to the front end, click in SOMs and ensure your SOM is listed and clickable